Changing guitar strings is a fundamental skill every guitarist should master, whether you’re a beginner or a seasoned player. Knowing how to change guitar strings not only ensures your instrument stays in optimal playing condition but also enhances sound quality and playability.
Fresh strings can significantly improve tone, sustain, and overall performance, making your practice sessions more enjoyable. Over time, strings wear out, losing their brightness and responsiveness, which is why regular maintenance is key.
In this guide, we’ll walk you through the essential steps, tips, and tricks for changing your guitar strings efficiently. You’ll find everything you need to know to tackle this task with confidence and get back to playing your favorite songs in no time.

What Are Guitar Strings?
First of all, it’s crucial to know what guitar strings exactly are. Guitar strings are typically made from materials such as steel, nylon, or a combination of metal alloys, each contributing to the overall sound and feel of the instrument.
Strings are classified into two main types: steel strings, which are commonly used on acoustic and electric guitars, and nylon strings, typically found on classical guitars. The gauge, or thickness, of the strings, can also affect playability and tone; lighter gauges are easier to bend and fret, while heavier gauges produce a fuller sound but may require more finger strength.
Understanding the different types of strings and their unique characteristics is essential for selecting the right strings for your playing style and preferences.
More importantly, knowing when to change your guitar strings is just as important as knowing how to change them. As a general rule of thumb, you should consider changing your strings every 1 to 4 weeks depending on how often you play.
If you play daily or perform frequently, your strings may wear out more quickly, resulting in diminished tone and tuning stability. Signs that it’s time for a change include a dull or muted sound, visible rust or corrosion, fraying, or difficulty staying in tune. Additionally, some players prefer to change strings before a performance to ensure optimal sound quality.
By keeping a close eye on your strings’ condition, you can maintain your guitar’s performance and enjoy a consistently great playing experience.
How To Change Guitar Strings?
Now that we’ve covered the basics, let’s get into the nitty-gritty of changing guitar strings. Follow these simple steps to change your acoustic guitar strings like a pro.
Step 1: Prepare Your Guitar Before Starting to Change Guitar Strings

Start by placing your guitar on a clean, flat surface. This helps prevent any scratches or damage to your instrument while you’re changing the strings. A well-lit area also makes it easier to see what you’re doing.
Then, ensure you have all the necessary tools at hand, including new strings, wire cutters, and a string winder. Having everything prepared ahead of time will save you from unnecessary interruptions during the string-changing process.
Remember to take a moment to examine your guitar. Make sure the neck is balanced and that there are no visible issues, such as loose parts or cracks. This initial check can help you address any potential problems before you begin changing the strings.
Step 2: Loosen The Old Strings

To begin loosening the old strings, use your tuning pegs by turning them counterclockwise. Start with the highest string (the 1st string, or high E) and turn the peg until the string is slack enough to remove it easily.
It’s essential to apply firm but gentle pressure while turning, allowing the string to unwind without snapping. As you loosen each string, you may notice that the tension on the neck of the guitar decreases.
Once a string is loose, you can gently pull it away from the bridge and tuning peg. Repeat this process for each string until they are all sufficiently loosened. Once complete, your guitar will be ready for the next steps in changing the strings.
Step 3: Remove The Old Strings

After loosening the strings, it’s time to remove them from your guitar.
Start by gently pulling each string away from the tuning peg. You may need to guide the string out of the slot if it feels stuck. Once you have the string free from the peg, carefully pull it out from the bridge, which is the part on the body of the guitar where the strings connect. Take your time with this process to avoid damaging any components.
As you remove each string, it’s a good idea to keep them in order so you can easily remember the placement for the new strings. Dispose of the old strings properly to prevent any accidents, and ensure your workspace remains tidy for the next steps.
Step 4: Insert The New Strings

Now it’s time to insert your new strings.
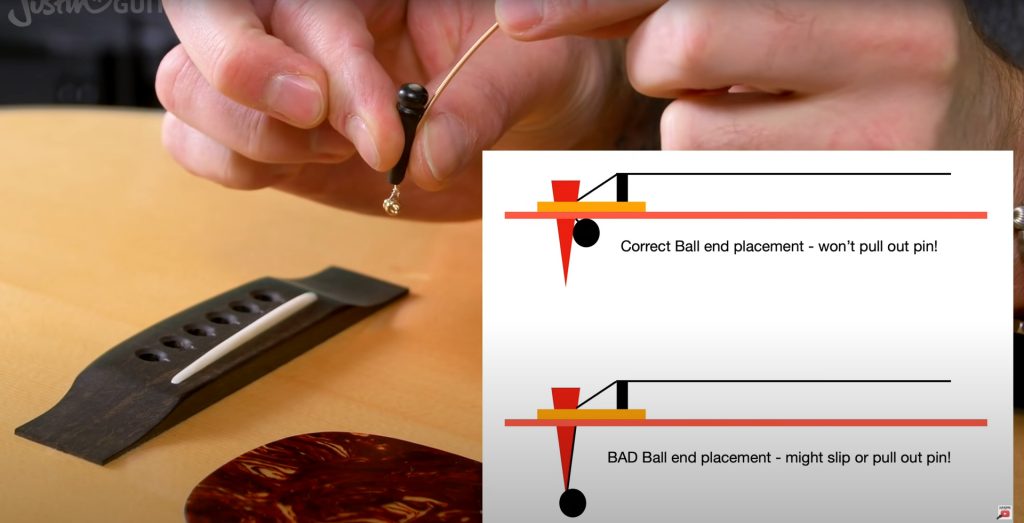
Start by taking the first string, which is typically the highest E string. Thread the end of the string through the hole in the bridge, pulling it down towards the body of the guitar. Make sure to leave enough slack to work with as you thread the string into the tuning peg.
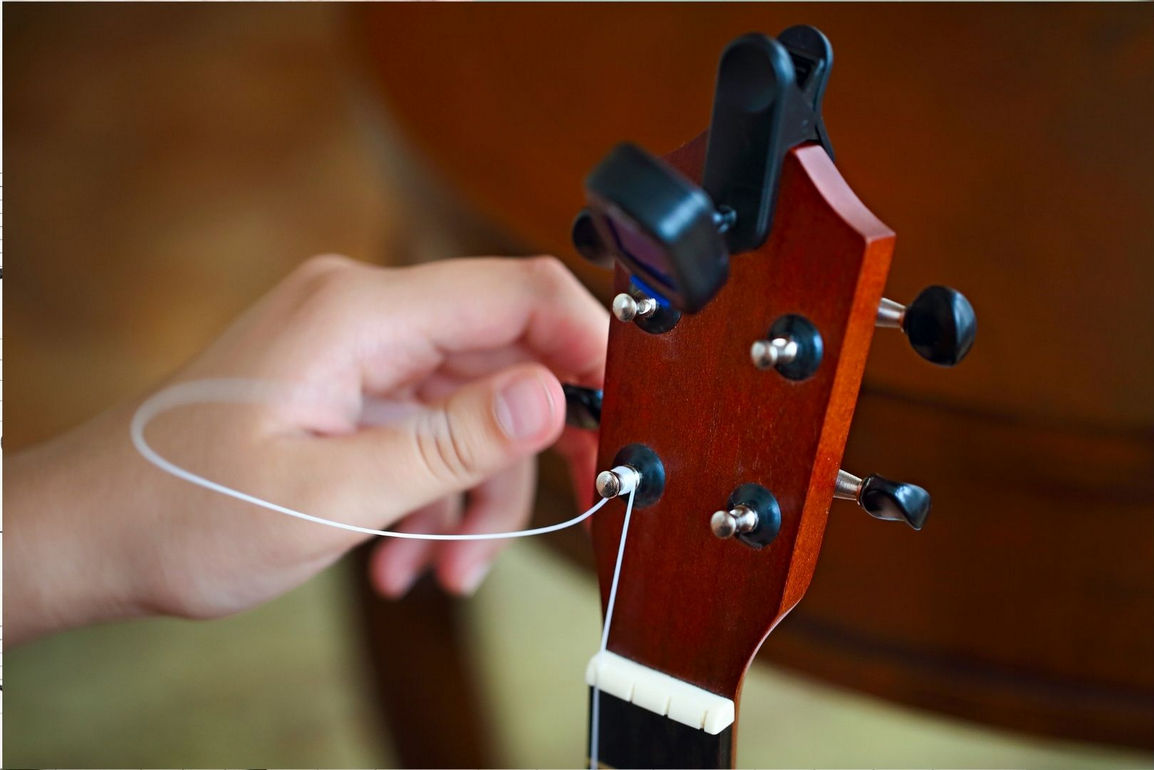
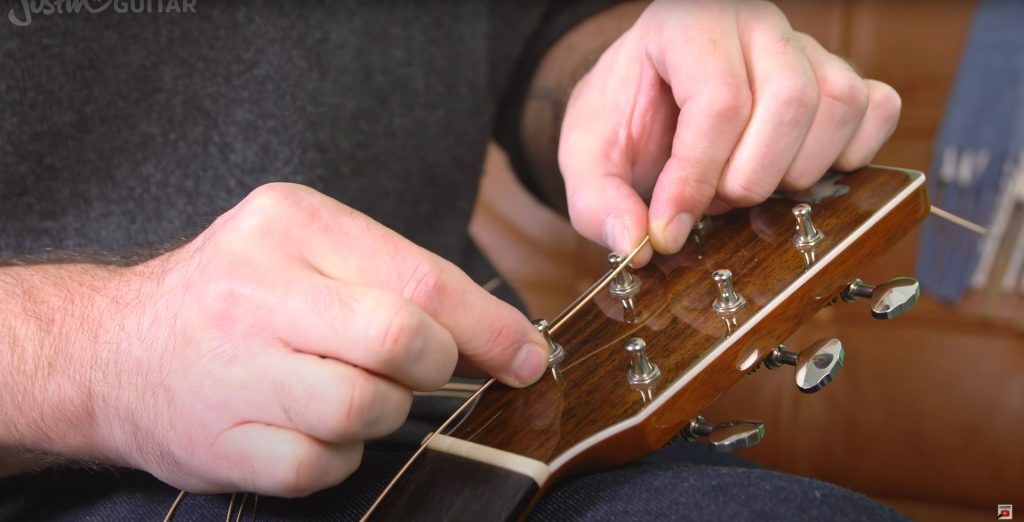
Next, guide the end of the string into the corresponding tuning peg, which is usually labeled for easy reference. Once the string is through the peg’s hole, pull it snug but don’t tighten it yet.
Repeat this process for each of the remaining strings, ensuring you maintain the proper order from the highest to the lowest string.
Step 5: Wind The String

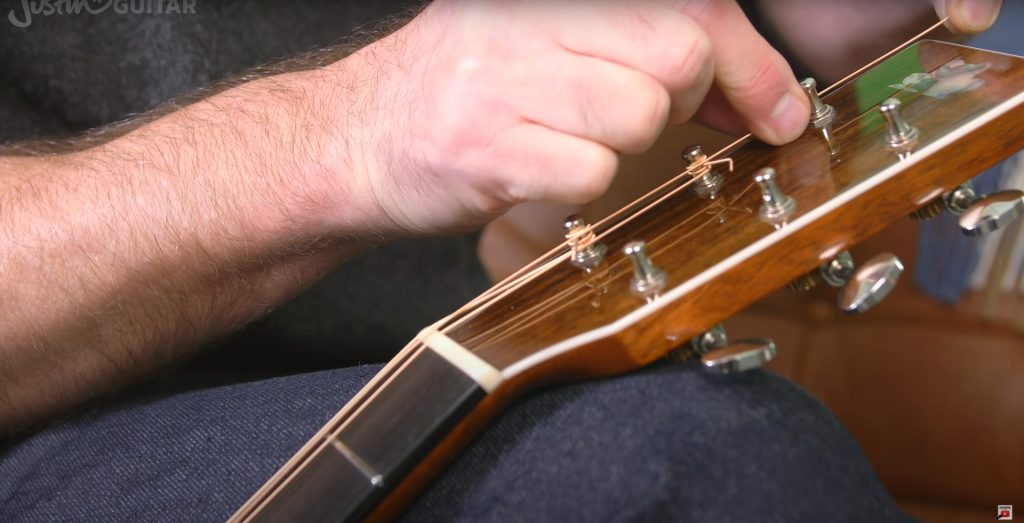
Once the string is threaded through the tuning peg, it’s time to wind it. Begin by holding the string taut, ensuring it does not slip back through the bridge. Turn the tuning peg while guiding the string into the slot, allowing it to wind around the peg.
It’s important to wind it neatly and in a clockwise direction to ensure the string stays secure. Start by making a few wraps at the bottom before the string crosses over itself; this creates a stable base.
As you continue winding, keep the tension consistent by slightly pulling on the string. Wind until the string is tight enough to bring your guitar into tune. You might need to pause to adjust and check the pitch occasionally but aim for a snug fit to avoid any slippage while playing.
Step 6: Trim Excess String

After all the strings have been wound and are in tune, it’s time to trim any excess length from their ends. Use wire cutters or a pair of scissors that are sharp enough to cut through the metal without fraying.
Carefully hold the end of each string near the tuning peg and cut it about an inch away from the peg to allow for a slight margin. This helps prevent sharp ends from poking you while playing.
Take your time to ensure you do not cut too close to the peg, which could make it difficult to replace the string in the future.
Step 7: Stretch And Tune

After you’ve trimmed the excess string, it’s time to stretch and tune your guitar. Gently pull each string upward away from the fretboard, being careful not to apply too much pressure. This helps remove any slack and allows the string to settle into position.
Next, start tuning your guitar. Use a tuner or a tuning app to guide you, adjusting each string to reach the correct pitch. Remember that new strings can stretch, which means they might go out of tune quickly after being put on. Take a moment to play each string, and adjust as needed until they hold their notes.
It’s a good idea to repeat this stretching and tuning process a few times to ensure stability. This will help your guitar maintain its tune, providing you with a better sound and playing experience as you start using the new strings.
Congratulations! You have successfully changed your acoustic guitar strings.
Conclusion
To conclude, understanding how to change guitar strings is a necessary skill for any guitarist. With the right tools, preparation, and technique, you can easily change your strings and maintain a well-tuned instrument. Remember to take your time, be gentle with your guitar, and properly dispose of old strings to avoid any accidents.
Now that you know how to change acoustic guitar strings like a pro, it’s time to put your skills into practice and enjoy the smoother sound of new strings on your instrument!

