Knowing how to play Chopsticks on a keyboard or piano is a delightful journey that combines fun and simplicity, making it an ideal piece for beginners of all ages. This catchy melody, often played with just two fingers, allows you to engage with music in a hands-on way, while also honing your coordination skills.
Whether you’re looking to impress friends at a gathering or simply want to enjoy some satisfying music-making at home, mastering “Chopsticks” can be a rewarding experience. In this guide, we will break down the steps to help you easily navigate the keys and bring this charming tune to life.
So, let’s get started!

What Is ‘Chopsticks’ Waltz?
The ‘Chopsticks’ waltz, more formally known as “Chopsticks,” is a playful and popular piano piece that has gained a special place in the hearts of music enthusiasts. Characterized by its repetitive melody and simple structure, it features a syncopated rhythm that resembles the movements made while eating with chopsticks, hence its name.
This piece is typically played using just the index and middle fingers, making it accessible for beginners while also providing a fun challenge for more experienced players.
The origins of the ‘Chopsticks’ waltz can be traced back to the late 19th century. It was originally composed by Euphemia Allen in 1877, under the title “The Celebrated Chop Waltz.” Allen was a young, British composer whose simple yet captivating melody quickly captivated audiences.
Since its publication, “Chopsticks” has been a staple among piano students and has inspired countless variations and adaptations across different musical genres.
How To Play Chopsticks On A Keyboard Or Piano?
We’ve gone through to discover what chopsticks waltz exactly is and know the first person who created it, it’s time to learn how to play chopsticks on a keyboard or piano. Actually, ‘Chopsticks’ is widely considered one of the easiest pieces to play on a keyboard, making it perfect for beginners who are just starting their musical journey.
Here’s how you can master this piece step by step:
Step 1: Identify the key names on your keyboard or piano

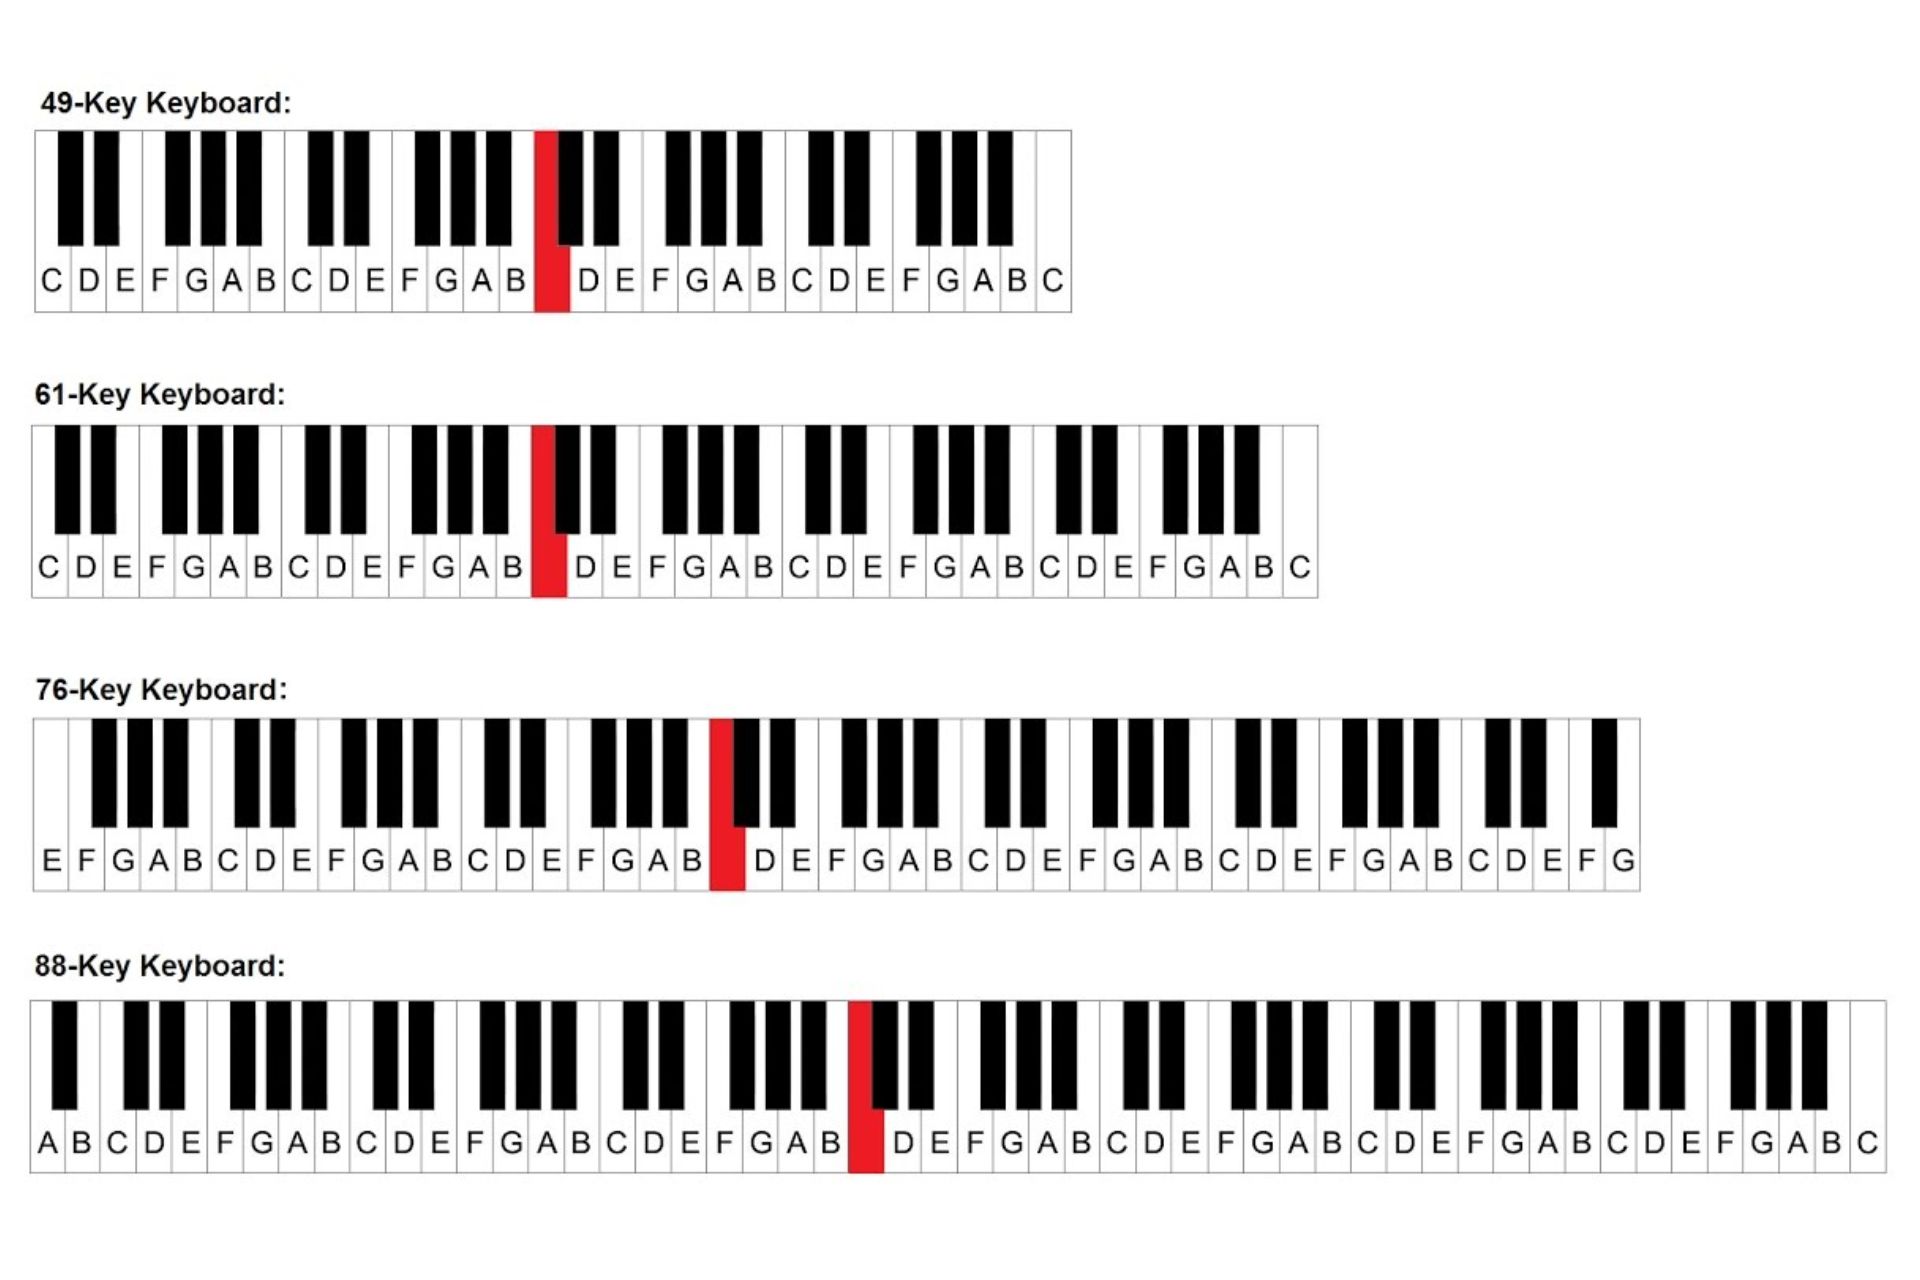
Before diving into playing “Chopsticks,” it’s essential to familiarize yourself with the key names on your keyboard or piano. The standard keyboard consists of 88 keys, comprising both white and black keys.
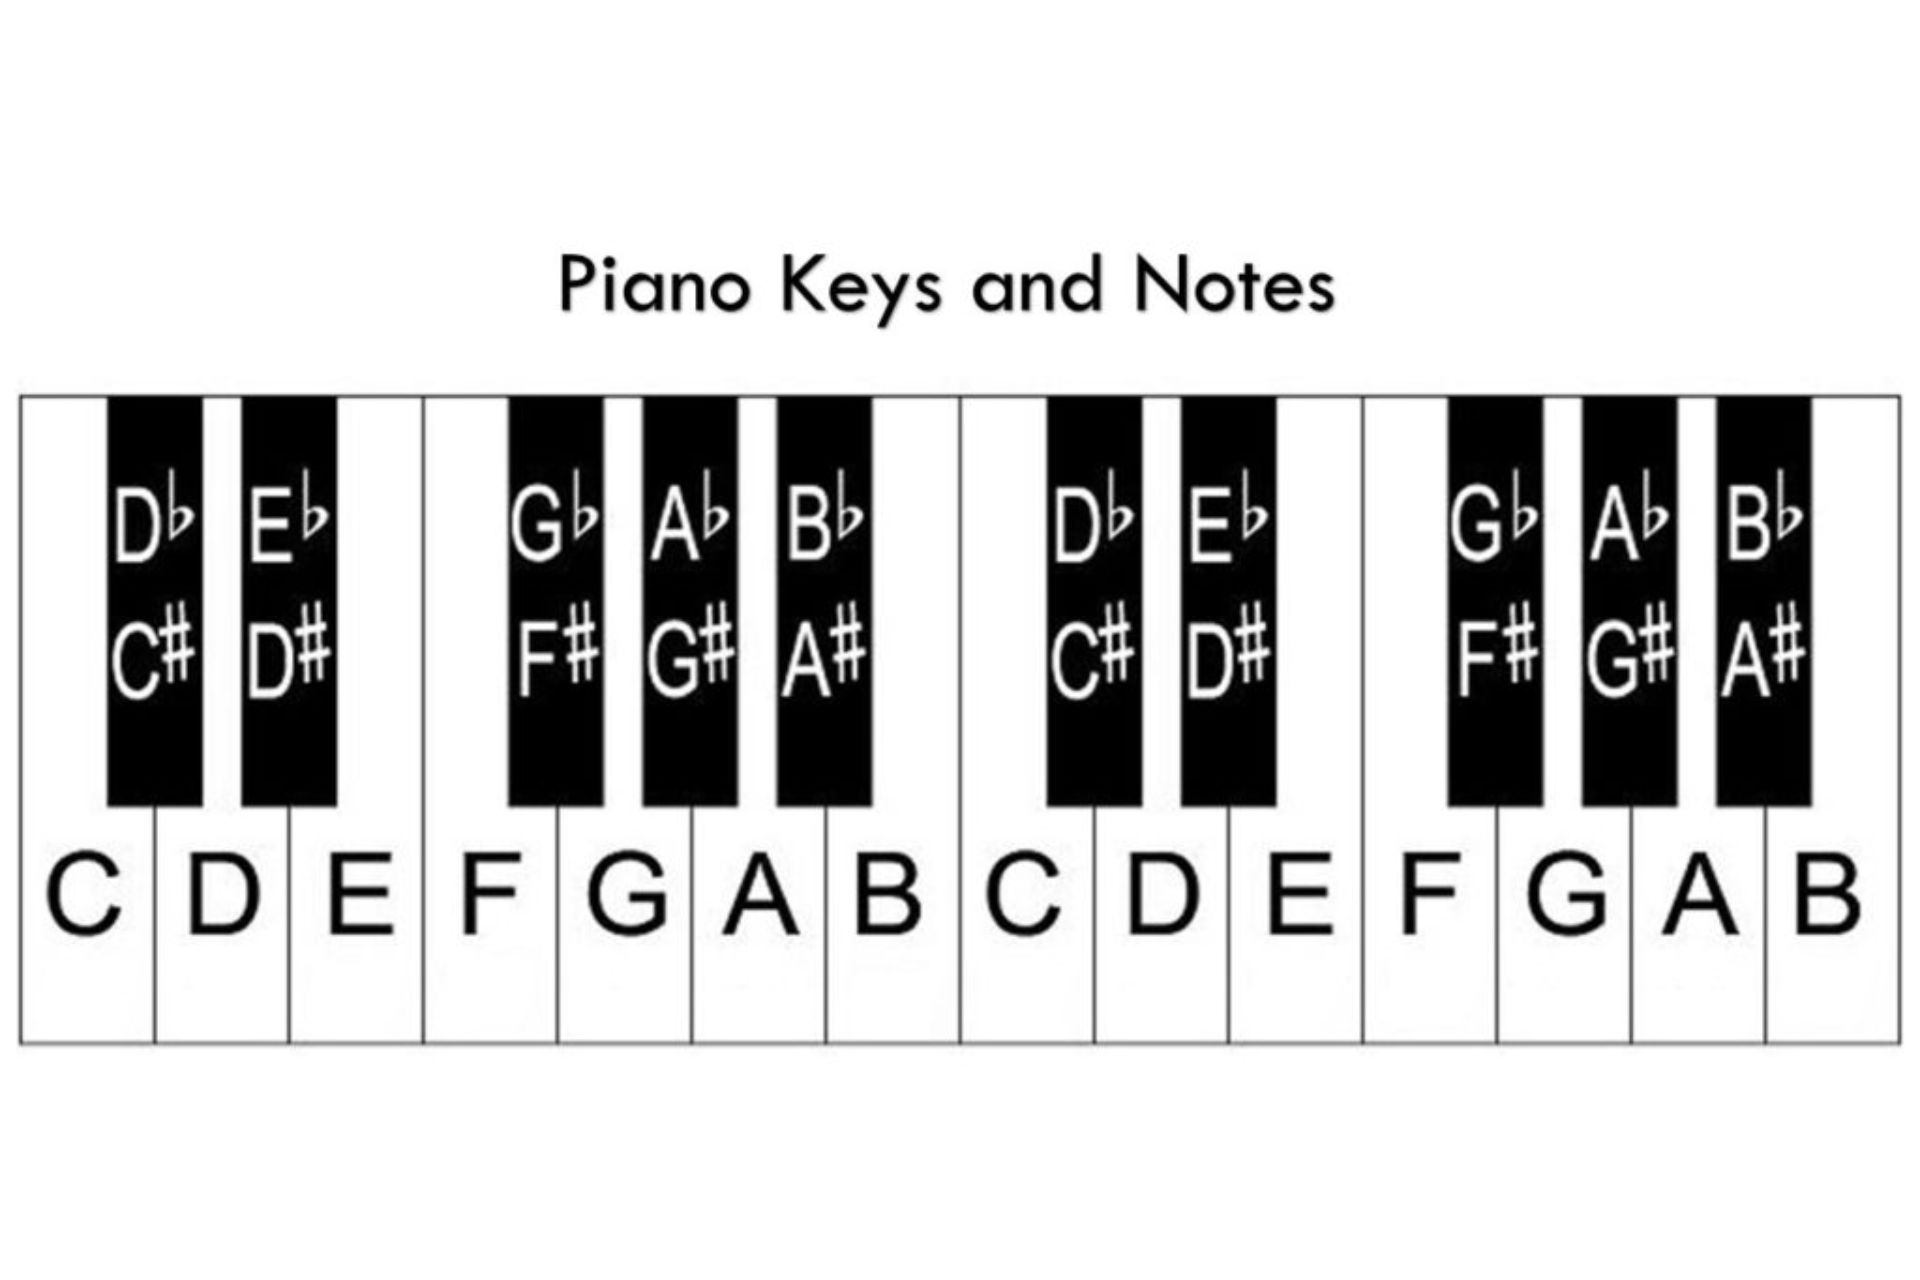
The white keys are named after the first seven letters of the alphabet: A, B, C, D, E, F, and G. Each key corresponds to a specific musical note.
To start, locate the middle C on your keyboard, which is typically near the center of an 88-key piano. From here, you can identify the surrounding keys: to the left of middle C are B, A, and to the right are D, E, F, and G. The black keys, which are grouped in sets of twos and threes, represent the sharps and flats of these notes.
You can use stickers or labels to mark the keys if you find it challenging to remember their names. Remember, familiarizing yourself with these key names will provide a solid foundation for playing “Chopsticks” and will significantly enhance your overall musical understanding.
Step 2: Position your hands on the keyboard with your left index finger on the F note and your right index finger on the G note

Once you’ve identified the key names, it’s time to position your hands correctly.
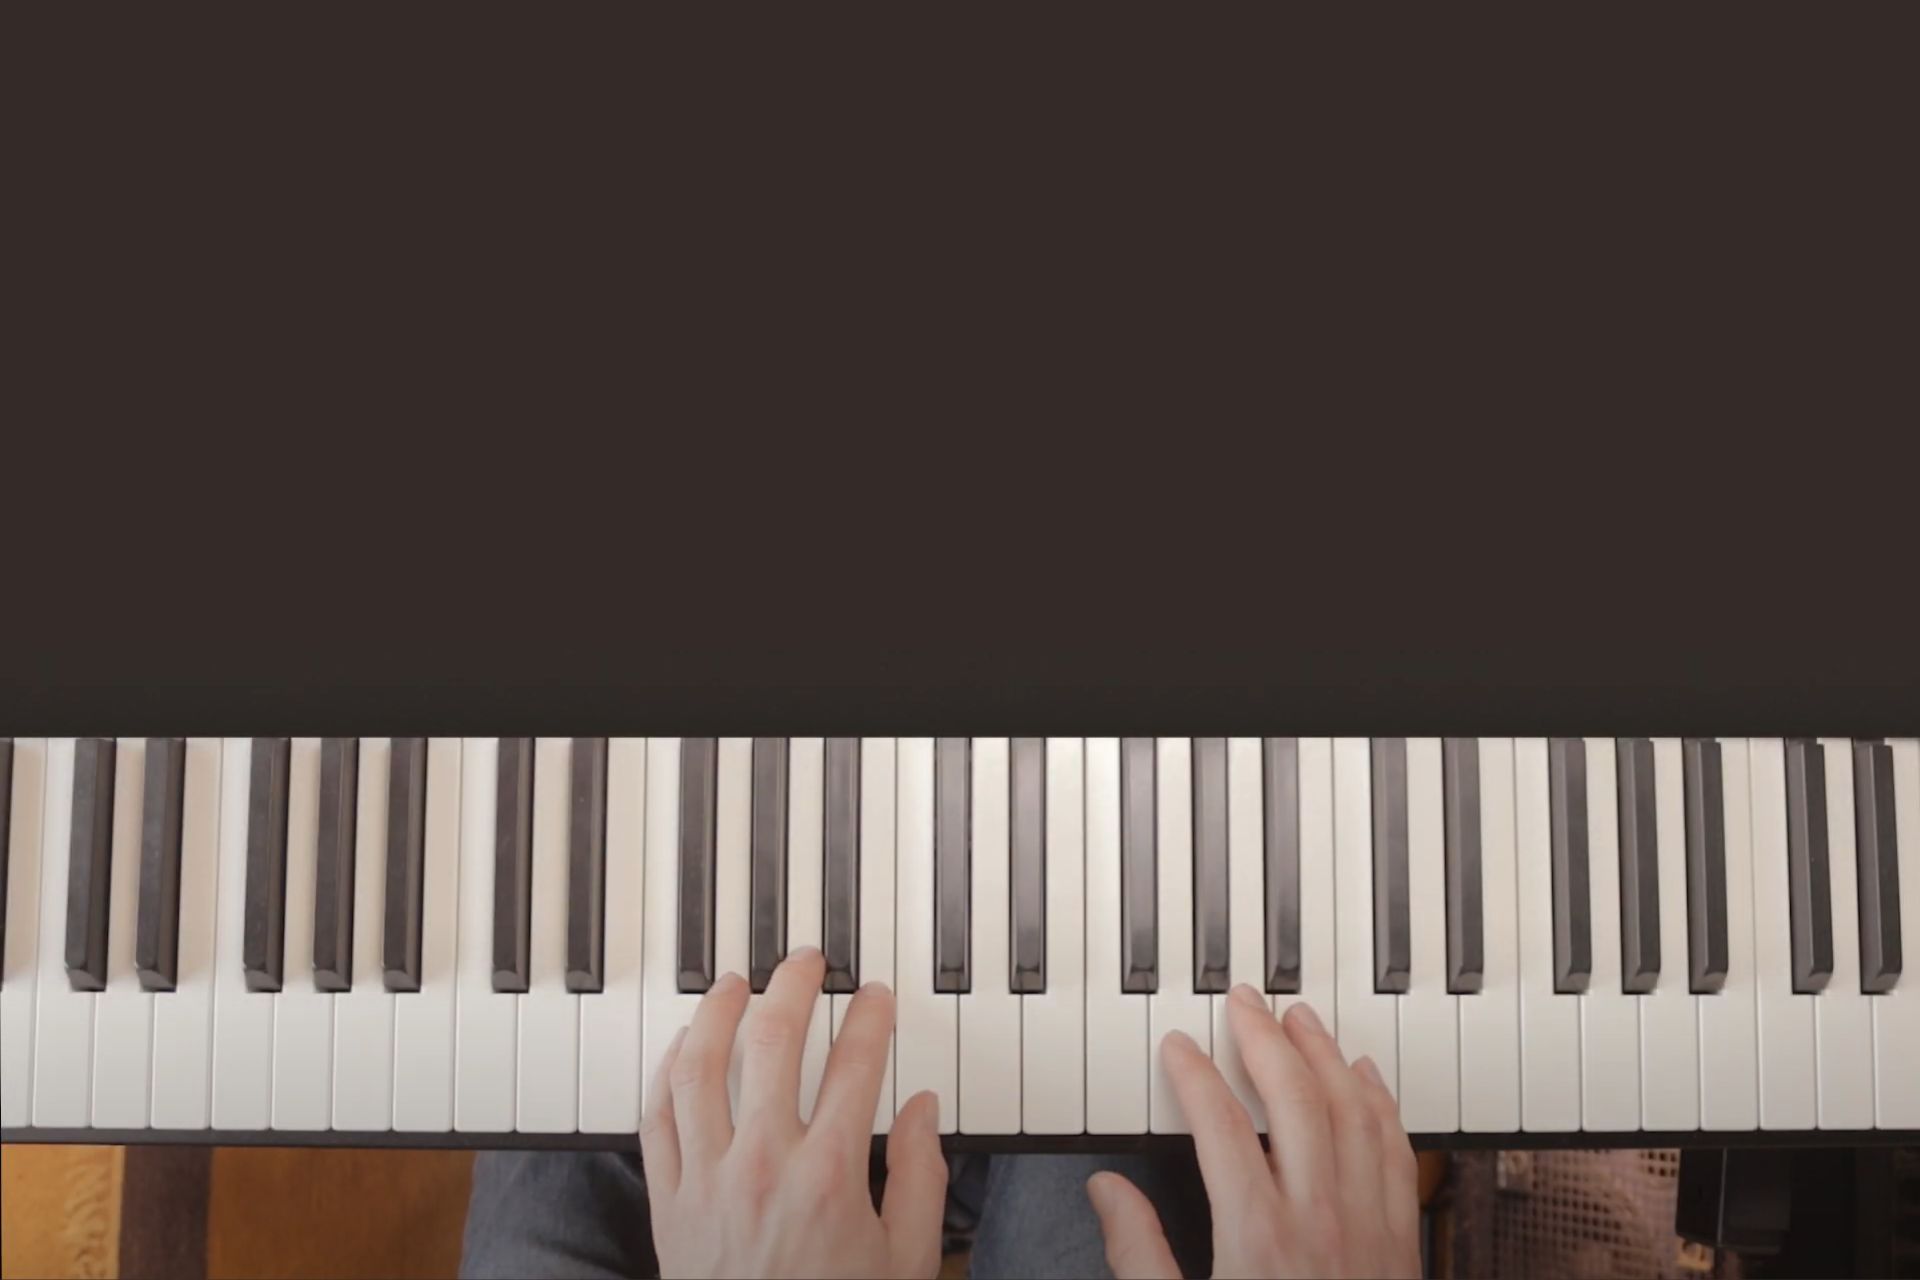
Begin by placing your left index finger on the F note, which is located immediately to the left of the group of three black keys. This will be your starting point for the left-hand melody.
Next, place your right index finger on the G note, situated immediately to the right of the same group of three black keys. This finger placement sets you up to play the opening notes of “Chopsticks.”
Ensure that your fingers are relaxed and slightly curved, as this will help you achieve a smoother playing experience. It’s important to maintain a comfortable posture while seated at the keyboard, with your elbows slightly above the keys, allowing for fluid movement.
Once your fingers are in position, take a moment to familiarize yourself with the sensations of pressing the keys before moving on to actually playing the melody.
Step 3: Set the rhythm to a 3/4 time signature, where each measure has three beats

To play “Chopsticks” effectively, it’s crucial to master the rhythm, which is set in a 3/4 time signature. This means that each measure consists of three beats, creating a waltz-like feel.
Count out loud as you play to help establish this rhythm: say “1, 2, 3” for each measure while you press the keys. The first beat is typically the strongest, so give it a little more emphasis when playing, while the second and third beats are lighter.
As you practice, start slowly, ensuring that you’re comfortable with the timing before increasing your speed. You can enhance your learning by listening to recordings of “Chopsticks” to internalize the rhythm. Once you feel confident with the 3/4 time signature, it will dramatically improve your playing, allowing you to express the playful nature of the piece with more flair and confidence.
Step 4: Playing the F key with your left hand and the G key with your right hand, repeating this pattern 6 times

Now that you have your fingers positioned correctly, it’s time to focus on the main melody.
Begin by pressing the F key with your left hand and then the G key with your right hand simultaneously, creating a harmonious sound. After pressing both keys, lift your fingers and repeat the process.
Ensure you maintain a steady rhythm as you alternate between the F and G keys; this will help you establish a smooth playing pattern. As you repeat this sequence, aim for a clear and consistent tone with each note.
Perform this alternating pattern six times gradually increasing your speed while maintaining accuracy. If you find it challenging, slow down and focus on getting the notes right before speeding up again.
Practicing this step will reinforce your muscle memory and set a solid foundation for the subsequent portions of “Chopsticks.”
Step 5: Switch to playing the E key with your left hand and the G key with your right hand, repeating this pattern 6 times

Once you’ve mastered the F and G keys, it’s time to transition to the next part of the melody.
Position your left hand’s index finger on the E key, which is located directly left of the group of two black keys. Keep your right-hand index finger on the G key.
Begin by pressing both keys simultaneously, producing a harmonious sound similar to the previous pattern. After you strike the keys, lift your fingers and repeat the process. Focus on maintaining a steady rhythm as you alternate between the E and G keys, aiming for clarity and consistency in your tone.
As you repeat this sequence six times, gradually increase your speed while ensuring that your timing remains accurate. This step not only continues to build your muscle memory but also enhances your familiarity with the melody.
Step 6: Continue the pattern by playing the D key with your left hand and the B key with your right hand, repeating this 6 times

Continue the pattern by playing the D key with your left hand and the B key with your right hand. Position your left index finger on the D key, which is located directly to the left of the group of two black keys, while keeping your right index finger on the B key, situated just below the group of three black keys.
Begin by pressing both keys at the same time, creating a harmonious sound that continues to develop the melody of “Chopsticks.” After striking the keys, lift your fingers and repeat the process, ensuring you maintain a steady rhythm throughout.
Aim for six repetitions of this pattern, focusing on clarity and evenness in the tone of each note. Gradually increase your speed as you become more comfortable, but always prioritize accuracy to build a solid foundation for your playing.
Step 7: Play the C key with your left hand and the C key one octave higher with your right hand, repeating this 3 times

Now, it’s time to elevate the melody by playing the C key with your left hand while simultaneously striking the C key one octave higher with your right hand.
Begin by positioning your left index finger on the C key, which is located directly to the left of the group of two black keys. For your right hand, locate the C key that is one octave higher; this key will be positioned further to the right.
Press both C keys at the same time to create a rich, harmonious sound. After playing the notes, lift your fingers and repeat this process for a total of three times to complete measure 7. As you play, focus on maintaining a steady rhythm and ensuring both keys produce a clear, even tone.
Step 8: Play the C, B, and A keys with your right hand while playing the C, D, and E keys with your left hand

In this step, you’ll create a rich harmonic texture by playing six keys with your two hands, both right hand and left hand simultaneously.
Begin by playing the two C keys simultaneously with your two index fingers, and repeat for one time again.
Then, slide your left index finger one key to the right, placing it on the D key. Move your right index finger one key to the left, positioning it on the B key. Play these two notes simultaneously.
Next, shift your left index finger one more key to the right, so it’s on the E key. Move your right index finger one key to the left, placing it on the A key. Play these two notes together to complete the measure 8.
Repeat this sequence for a total of six times, gradually increasing your speed while keeping focus on clarity and harmony in the melody. This step will significantly enrich your overall playing experience.
Step 9: Repeat the patterns from steps 4, 5, and 6 once more

the next step requires you to repeat these patterns from steps 4 to 6. Start with step 4, playing the F key with your left hand and the G key with your right hand six times. Focus on maintaining a smooth rhythm and clarity in your notes.
Next, transition to step 5, where you will play the E key with your left hand, and the G key with your right hand, repeating this six times as well. Finally, move on to step 6, alternating between the D key with your left hand and the B key with your right hand, repeating this pattern six times.
As you repeat these sequences, aim to gradually increase your speed while ensuring accuracy and maintaining a steady tempo. Reinforcing these patterns will solidify your muscle memory and prepare you for the next steps of your piano journey.
Step 10: Play the two C keys simultaneously, hold for one beat, then play the F and G keys

Continue by positioning your left index finger on the lower C key and your right index finger on the higher C key. Press both C keys at the same time to create a strong, unified sound. Hold this position for one full beat; ensure that you maintain a steady tone during this duration.
After the beat, lift your fingers from the C keys and immediately transition to the F and G keys. Position your left index finger on the F key and your right index finger on the G key, then press them together, producing a vibrant harmonic contrast.
Repeat this sequence a total of six times, focusing on smooth transitions between the C keys and the F and G keys while maintaining a consistent tempo and clarity in each note.
Step 11: Sustain the two C keys for two beats to conclude the song

To wrap up your performance, return to the two C keys, with your left index finger on the lower C key and your right index finger on the higher C key. Press both keys firmly at the same time to produce a harmonious sound that resonates throughout the room. Hold this position for a full two beats, allowing the sound to fill the space and create a sense of finality to your piece.
As you sustain the notes, focus on keeping the volume steady and the tone clear, ensuring that both keys resonate beautifully together. This moment serves as a striking conclusion to the melody, encapsulating all the progress you’ve made throughout the exercise.
Feel free to experiment with dynamics by gently increasing the volume before letting it fade, adding a personal touch to this final note. After the two beats, gently lift your fingers off the keys, completing your performance.
Conclusion
To conclude, learning how to play Chopsticks on a keyboard or piano is an excellent way to develop your finger dexterity, coordination, and overall playing abilities. By breaking down each step and focusing on accuracy, speed, and tone in your notes, you can improve your skills and prepare for more challenging pieces in the future.
Remember to take breaks and practice regularly to see progress over time. With dedication and patience, you’ll be mastering this beloved melody in no time! Happy playing!

