Tuning a guitar is an essential skill for any musician, whether you’re a beginner just starting out or an experienced player looking to refine your sound. The importance of proper tuning cannot be overstated; it sets the foundation for great music and ensures that every note resonates beautifully.
In this guide, we’ll explore detailed instructions on how to tune a guitar effectively, whether you’re using a tuner or without a tuner. So, let’s dive into the world of guitar tuning and unlock the full potential of your instrument!

Basics Of Tuning A Guitar
First and foremost, to tune your guitar with the best result, it’s really important to know about standard guitar tuning. Standard guitar tuning refers to the most common way to tune a guitar’s strings, which are tuned to specific pitches. From the lowest (the 6th string) to the highest (the 1st string), the standard tuning is E, A, D, G, B, and E.
This tuning allows for ease of playing chords and scales, making it a preferred choice for many guitarists. Understanding how each string relates to one another in standard tuning lays the groundwork for playing various styles of music effectively.
So why is tuning a guitar important? Does tuning affect the sound of the guitar? In fact, tuning a guitar is crucial because it affects the overall sound and harmony of your music.
A well-tuned guitar plays in tune with itself and other instruments, creating a coherent and pleasing musical experience. When strings are out of tune, it can sound dissonant and frustrating both to the player and the audience.
Regularly checking and tuning your guitar helps you develop better ear training, which is essential for music development. It also ensures you can effectively collaborate with other musicians, who may rely on you to stay in sync harmonically.
While the fundamentals of tuning remain the same for both electric and acoustic guitars, there can be some differences in the tuning process.
Electric guitars often come equipped with more advanced tuning systems, such as locking tuners and fine tuners on the bridge, which can make tuning easier and more precise. Acoustic guitars rely more on standard tuning methods, as they do not typically include these features.
Additionally, the string gauge and tension can differ between electric and acoustic guitars, potentially affecting how the guitar holds its tuning.
Regardless of the type of guitar, ensuring proper tuning will enhance your playing experience and sound quality.
How To Tune A Guitar With A Tuner?
Tuning your guitar with a tuner is a straightforward process that can significantly improve your playing experience. Here’s a detailed, step-by-step guide on how to effectively tune your guitar using a tuner.
Step 1: Purchase a high-quality chromatic guitar tuner
Before you can start tuning, you need a good tuner. There are various types available: handheld tuners, pedal tuners, and smartphone apps. A chromatic tuner is ideal because it can identify every note on the guitar, allowing you to tune to any key.
When selecting a tuner, look for one that offers a clear display and a sensitivity setting to help you match the pitch accurately. Some tuners even come with built-in microphones, which can be very helpful for beginners.

Step 2: Whenever you can, tune up rather than down
Now that you have your tuner, it’s time to start tuning. One important tip to keep in mind is to always tune your strings up to the correct pitch rather than down. This involves loosening the string first and then tightening it back up to the desired note.
The reason for this approach is that tightening a string that is below pitch can create slack, making it more likely to drift out of tune again. By tuning up, you ensure that the tension remains stable, leading to a more consistent tuning.

Step 3: Replace with new strings
If you’ve been playing for a while, it might be a good idea to replace your old strings before tuning. Worn-out strings can make tuning more challenging and can sound dull or flat, negatively impacting your overall sound.
When you replace the strings, make sure to stretch them gently after installation. Give each string a light pull to help them settle in, which prevents them from going out of tune quickly after the initial tuning.

Step 4: Allow the wood to adjust
Start by getting the strings roughly in tune, then fine-tune them more precisely, especially if you’ve just put on new strings. The strings exert significant tension on the guitar’s frame — hundreds of pounds of pressure — which can cause acoustic guitars to shift and settle, particularly older instruments and those made from different types of wood.
Don’t be discouraged if your guitar goes out of tune shortly after you’ve adjusted it perfectly; this is a common occurrence. Gently pull on the strings as you tune to remove any extra slack, then let the guitar sit for a few minutes before checking the tuning again.

Step 5: Rely on both your sight and hearing
To ensure your guitar is perfectly in tune, use both your eyes and ears. Watch the tuner’s display for accurate pitch readings, as it provides a visual representation of the note each string is playing. At the same time, listen carefully to the sound of each string.
Strive for a clear, harmonious tone, as this will confirm that your tuning is precise. By combining these two methods, you can achieve a well-tuned guitar that’s ready to play.
After tuning all the strings, it’s good practice to play a few chords and check if everything sounds harmonious. It’s also helpful to periodically retune during your practice sessions, as strings can stretch and go out of tune.

How To Tune A Guitar Without A Tuner?
Tuning your guitar without a tuner can be an invaluable skill for musicians, especially when you’re in a situation where no electronic devices are available. The process relies on using the natural intervals between the strings, allowing you to develop a stronger ear for music.
Here, we’ll walk through each step, breaking it down clearly to help you tune your guitar accurately.
Step 1: Press down the low E string at the fifth fret
Start by identifying your low E string, which is the thickest string and is positioned at the top when the guitar is held in the playing position. To begin the tuning process, press down on this string at the fifth fret.
This action raises the pitch of the string, and you’ll be using this pitch to set the other strings. Make sure to pluck the string gently while holding down the fret.
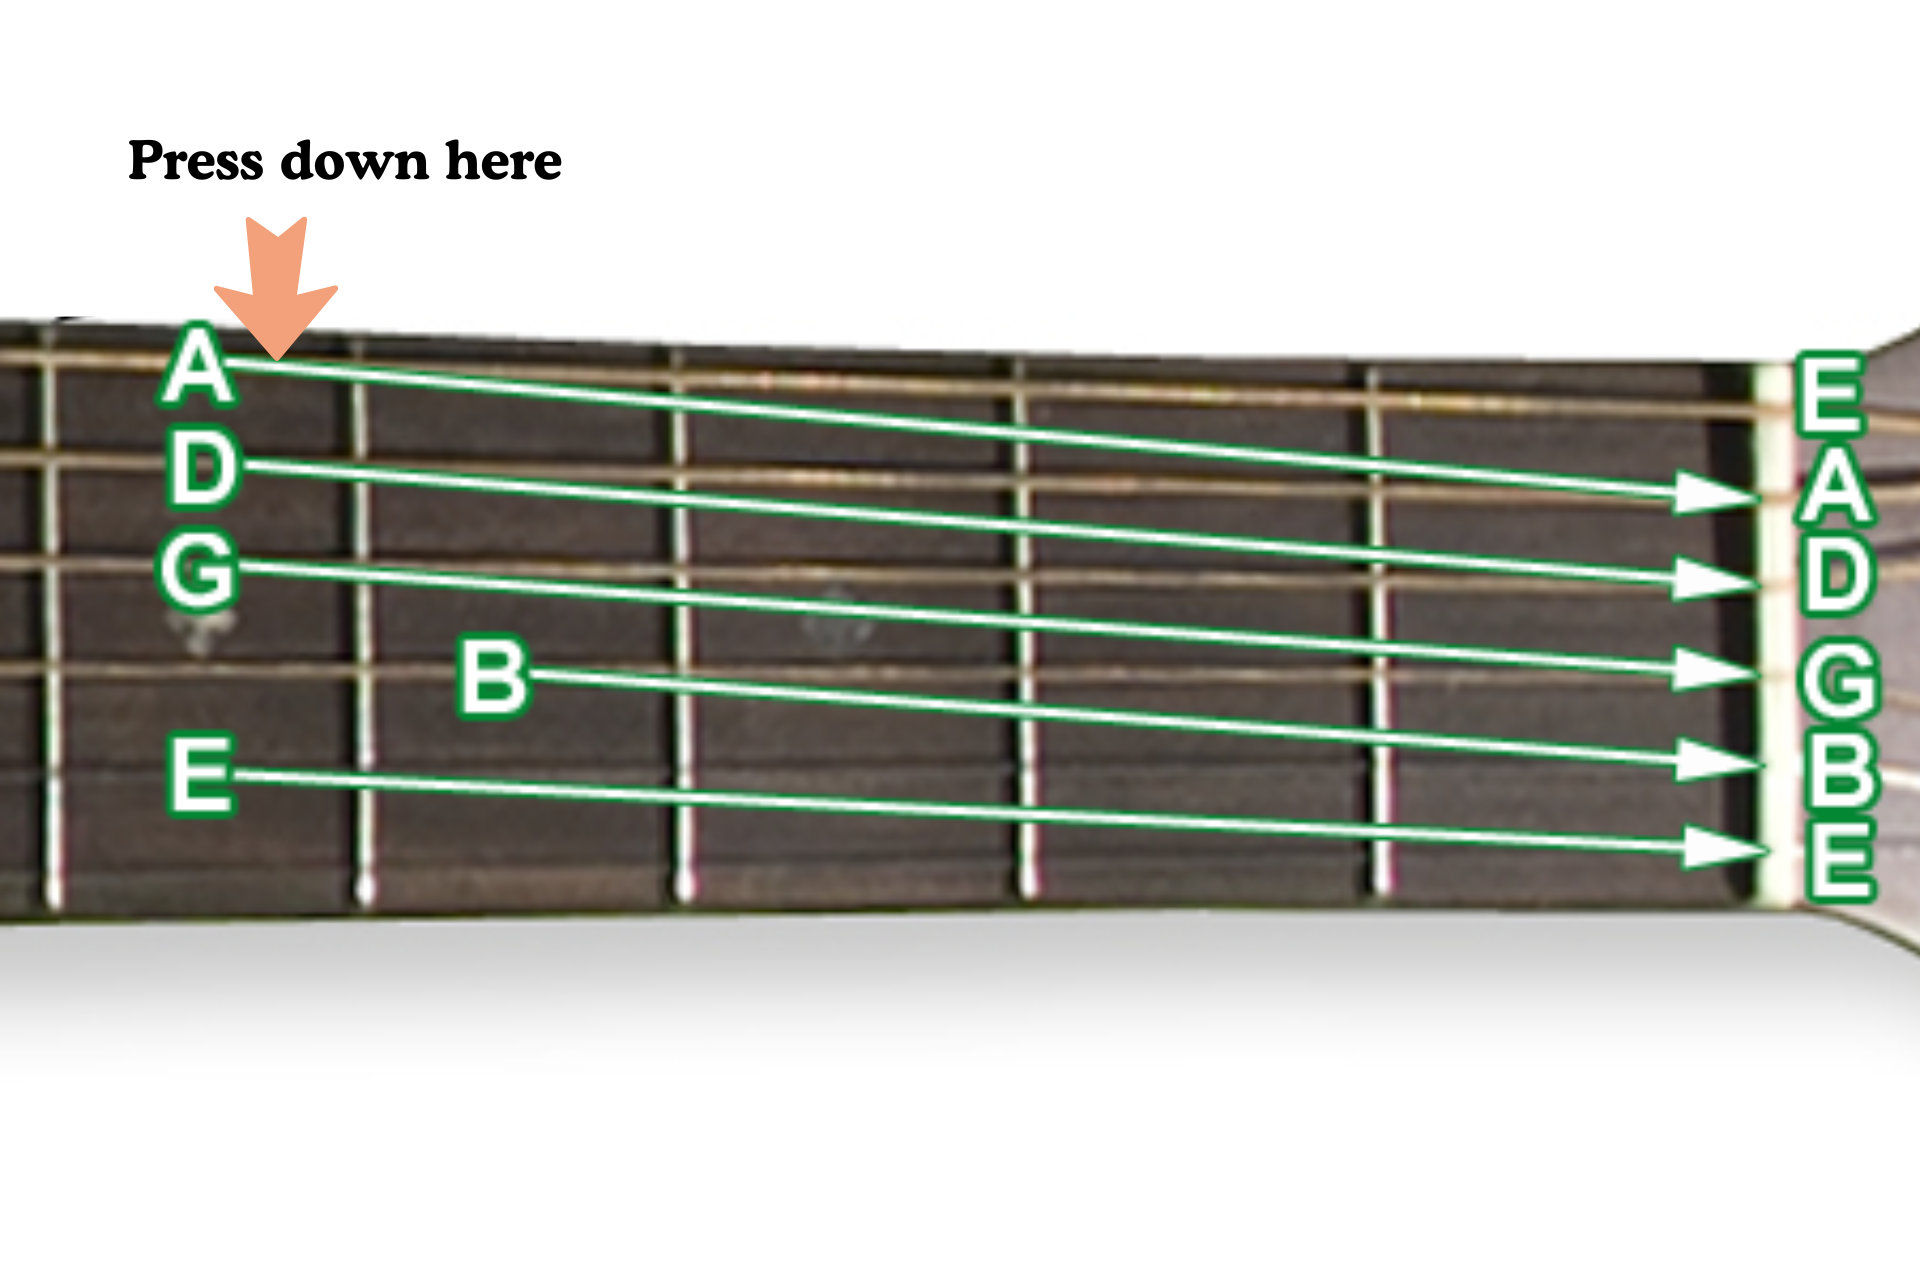
Step 2: Adjust the open A string to match the low E string at the fifth fret
Next, you will need to tune your A string, which is the second thickest string located directly below the low E string. With the low E string pressed at the fifth fret, pluck it again and listen closely.
Now, play the open A string (which is the second string) while adjusting its tune using the tuning pegs. Your goal is to match the pitch of the A string to that of the low E string at the fifth fret. When both strings sound the same, you’ve successfully tuned the A string.
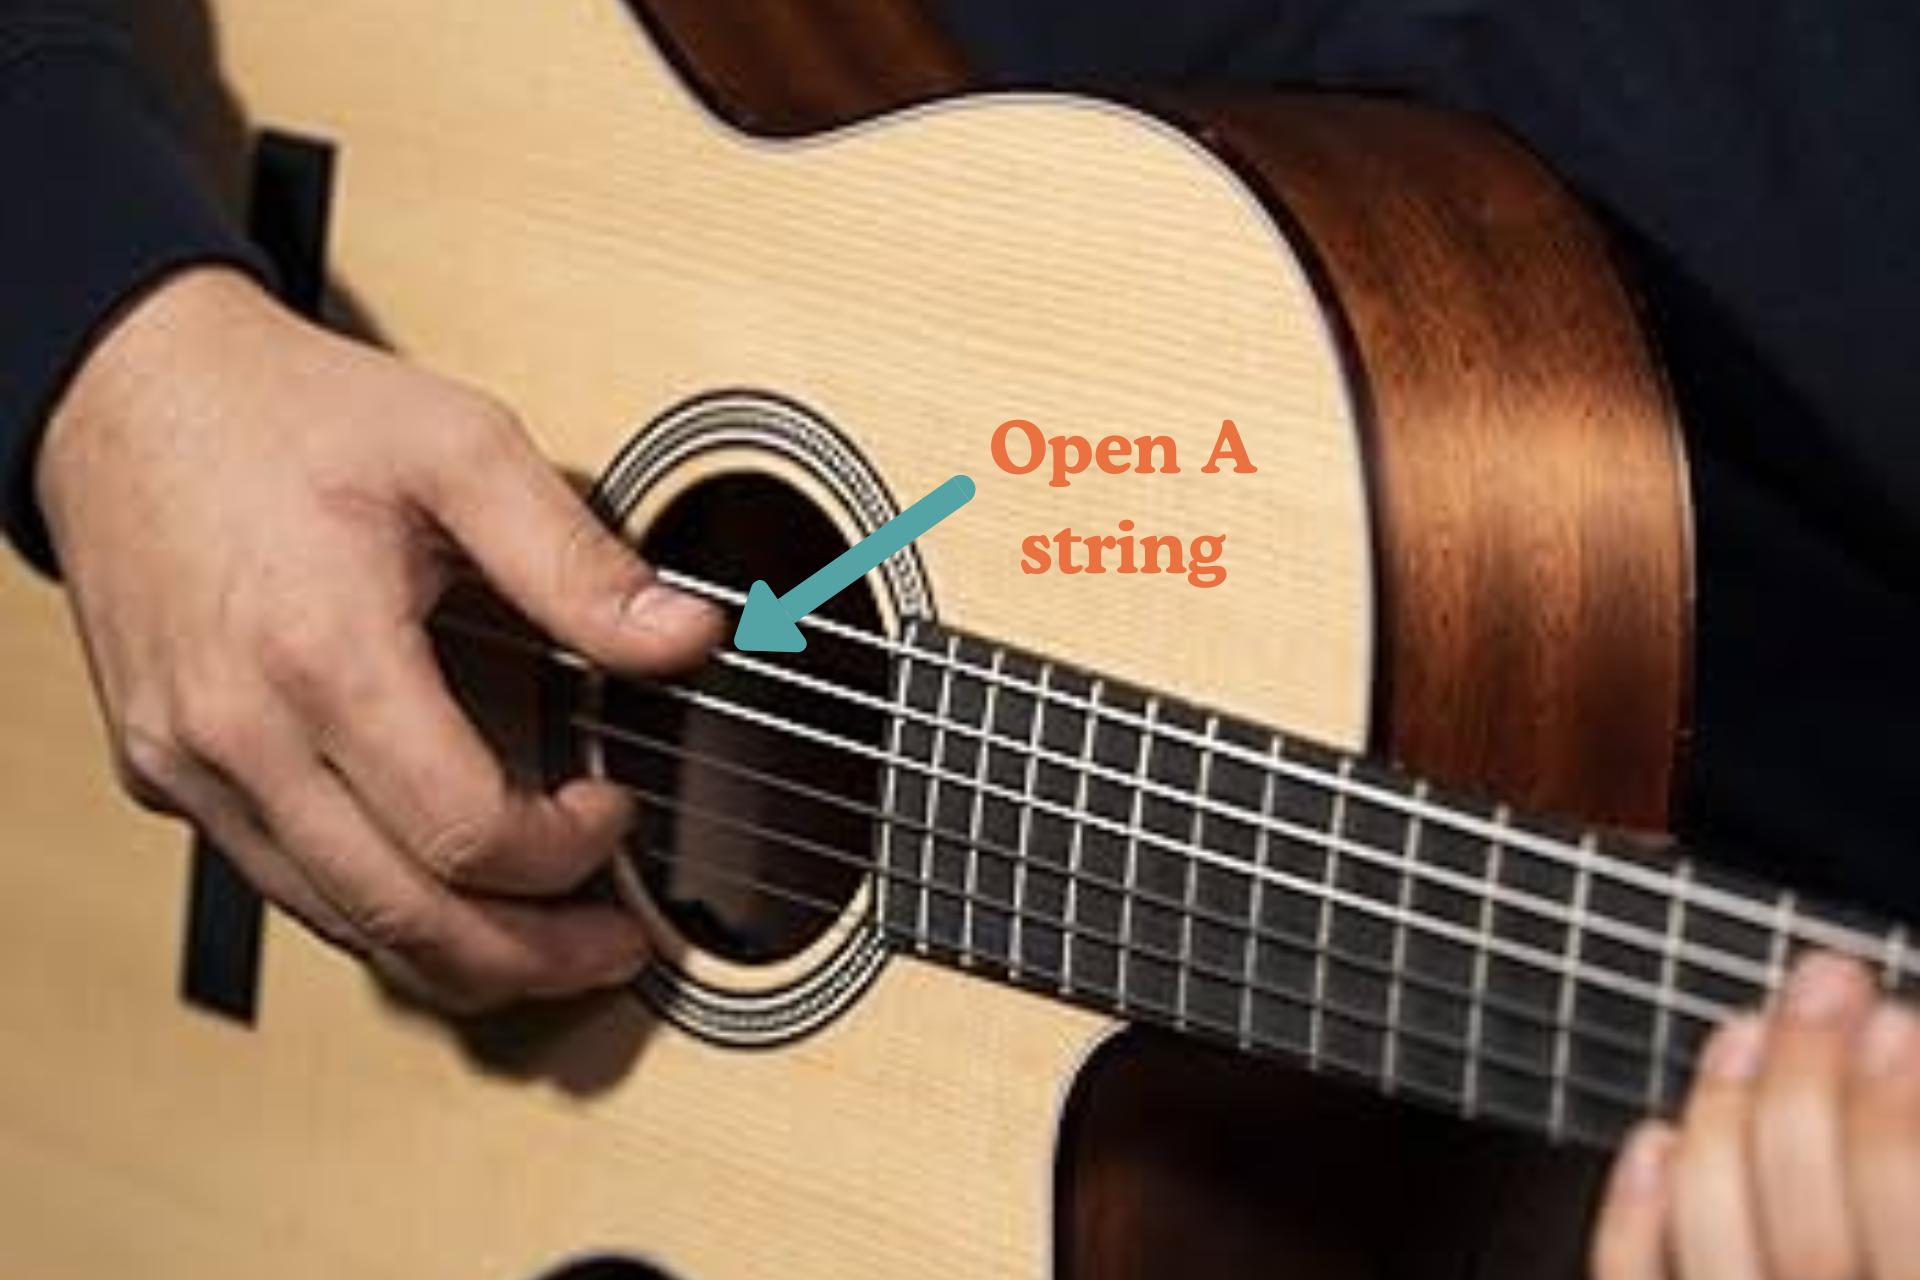
Step 3: Follow the same steps to tune the D and G strings
Once the A string is in tune, you’ll move on to the D string, which is the third string. Press down on the A string at the fifth fret and pluck it while comparing it to the open D string. Adjust the D string’s tuning until both strings resonate with the same pitch.
Now, you will tune the G string, which is the fourth string with a thinner gauge. To do this, press the D string at the fifth fret and pluck it. Compare the sound with the open G string, tugging at the tuning peg until you get both sounds perfectly aligned.
This method based on a fifth interval creates a harmonious sound and keeps your guitar well-tuned.
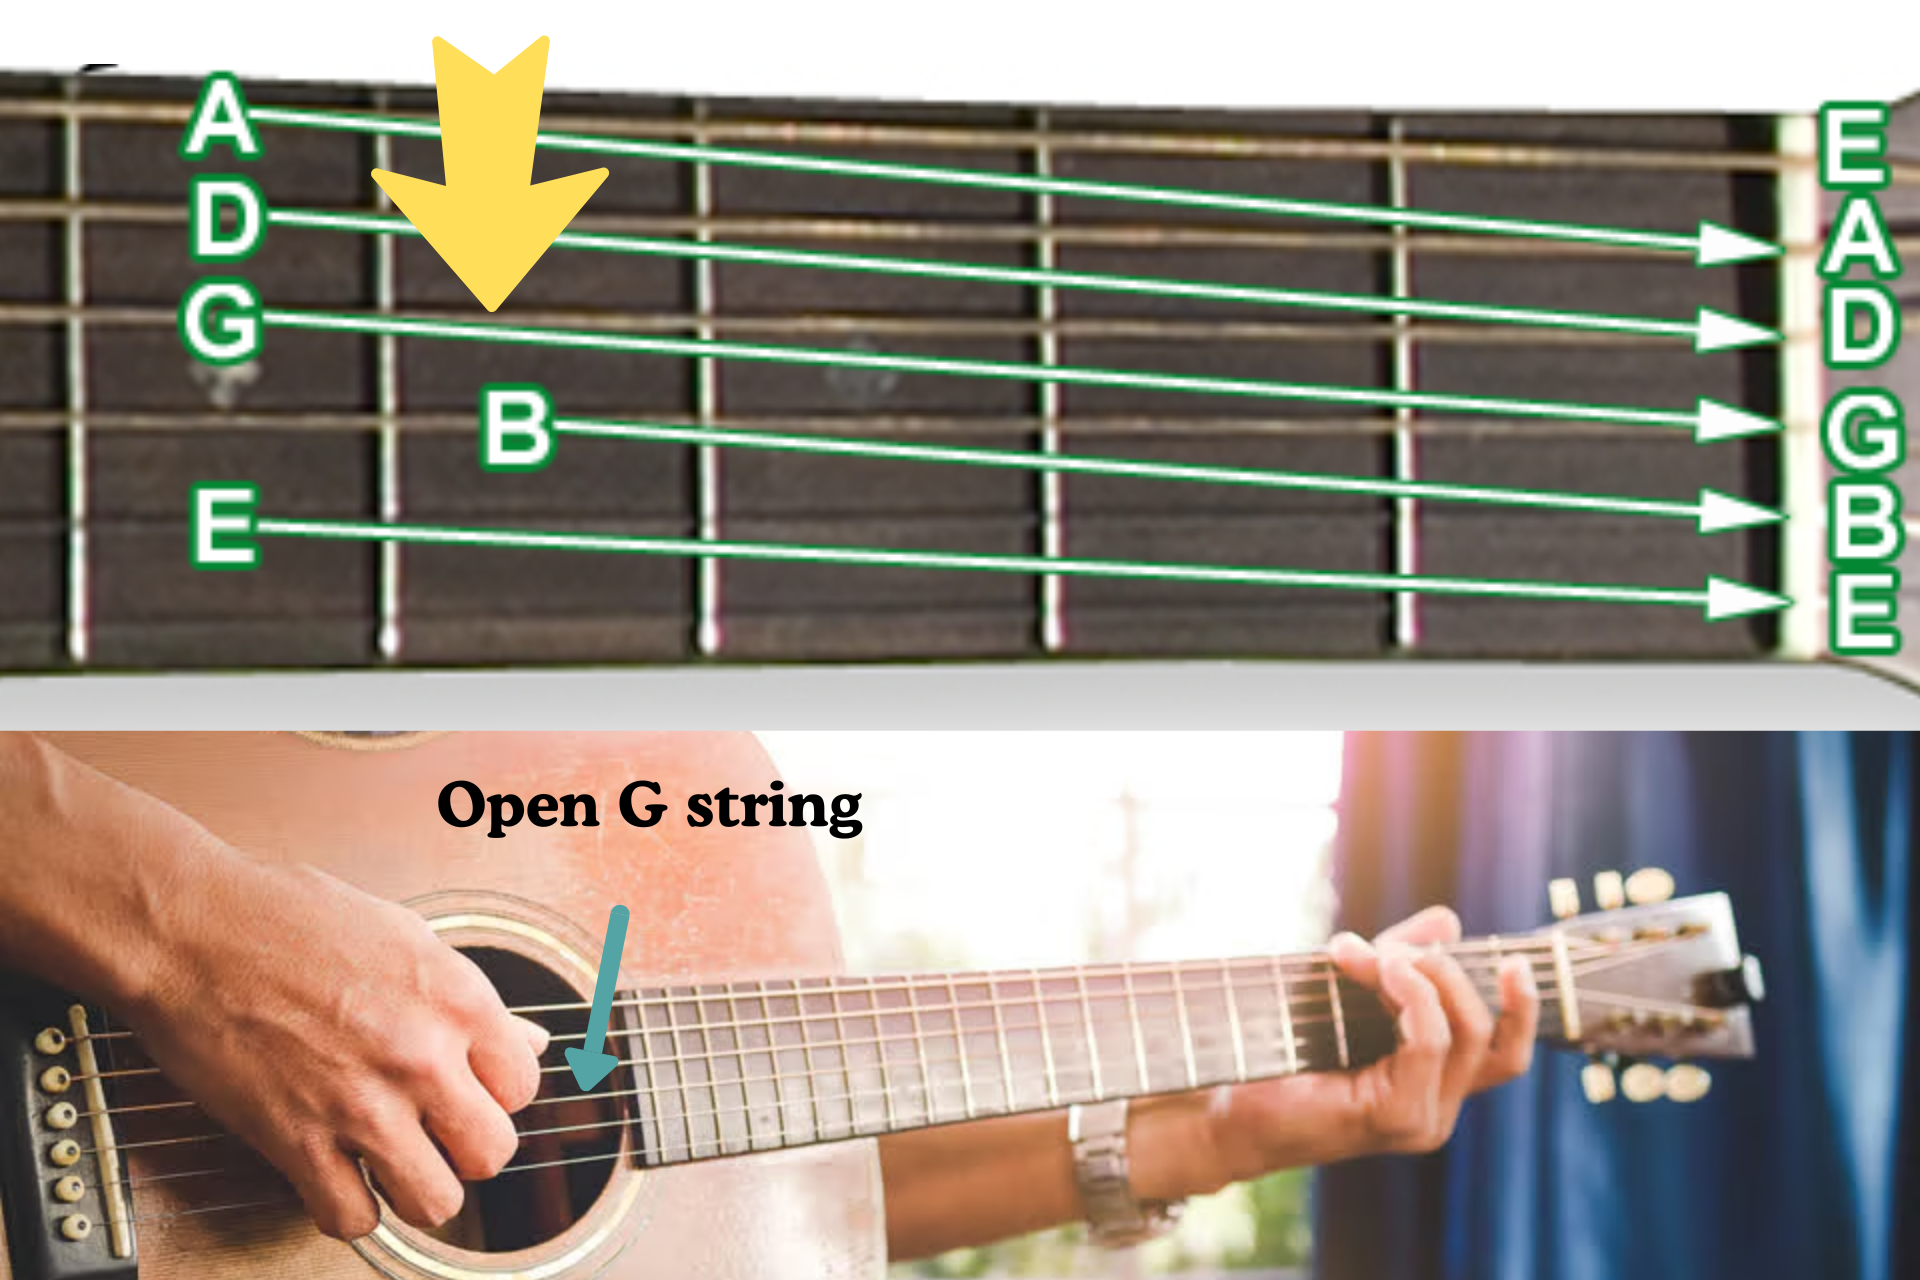
Step 4: Press the G string at the fourth fret to tune the B string
Moving on, we’ll now tune the B string, which is the second thinnest string.
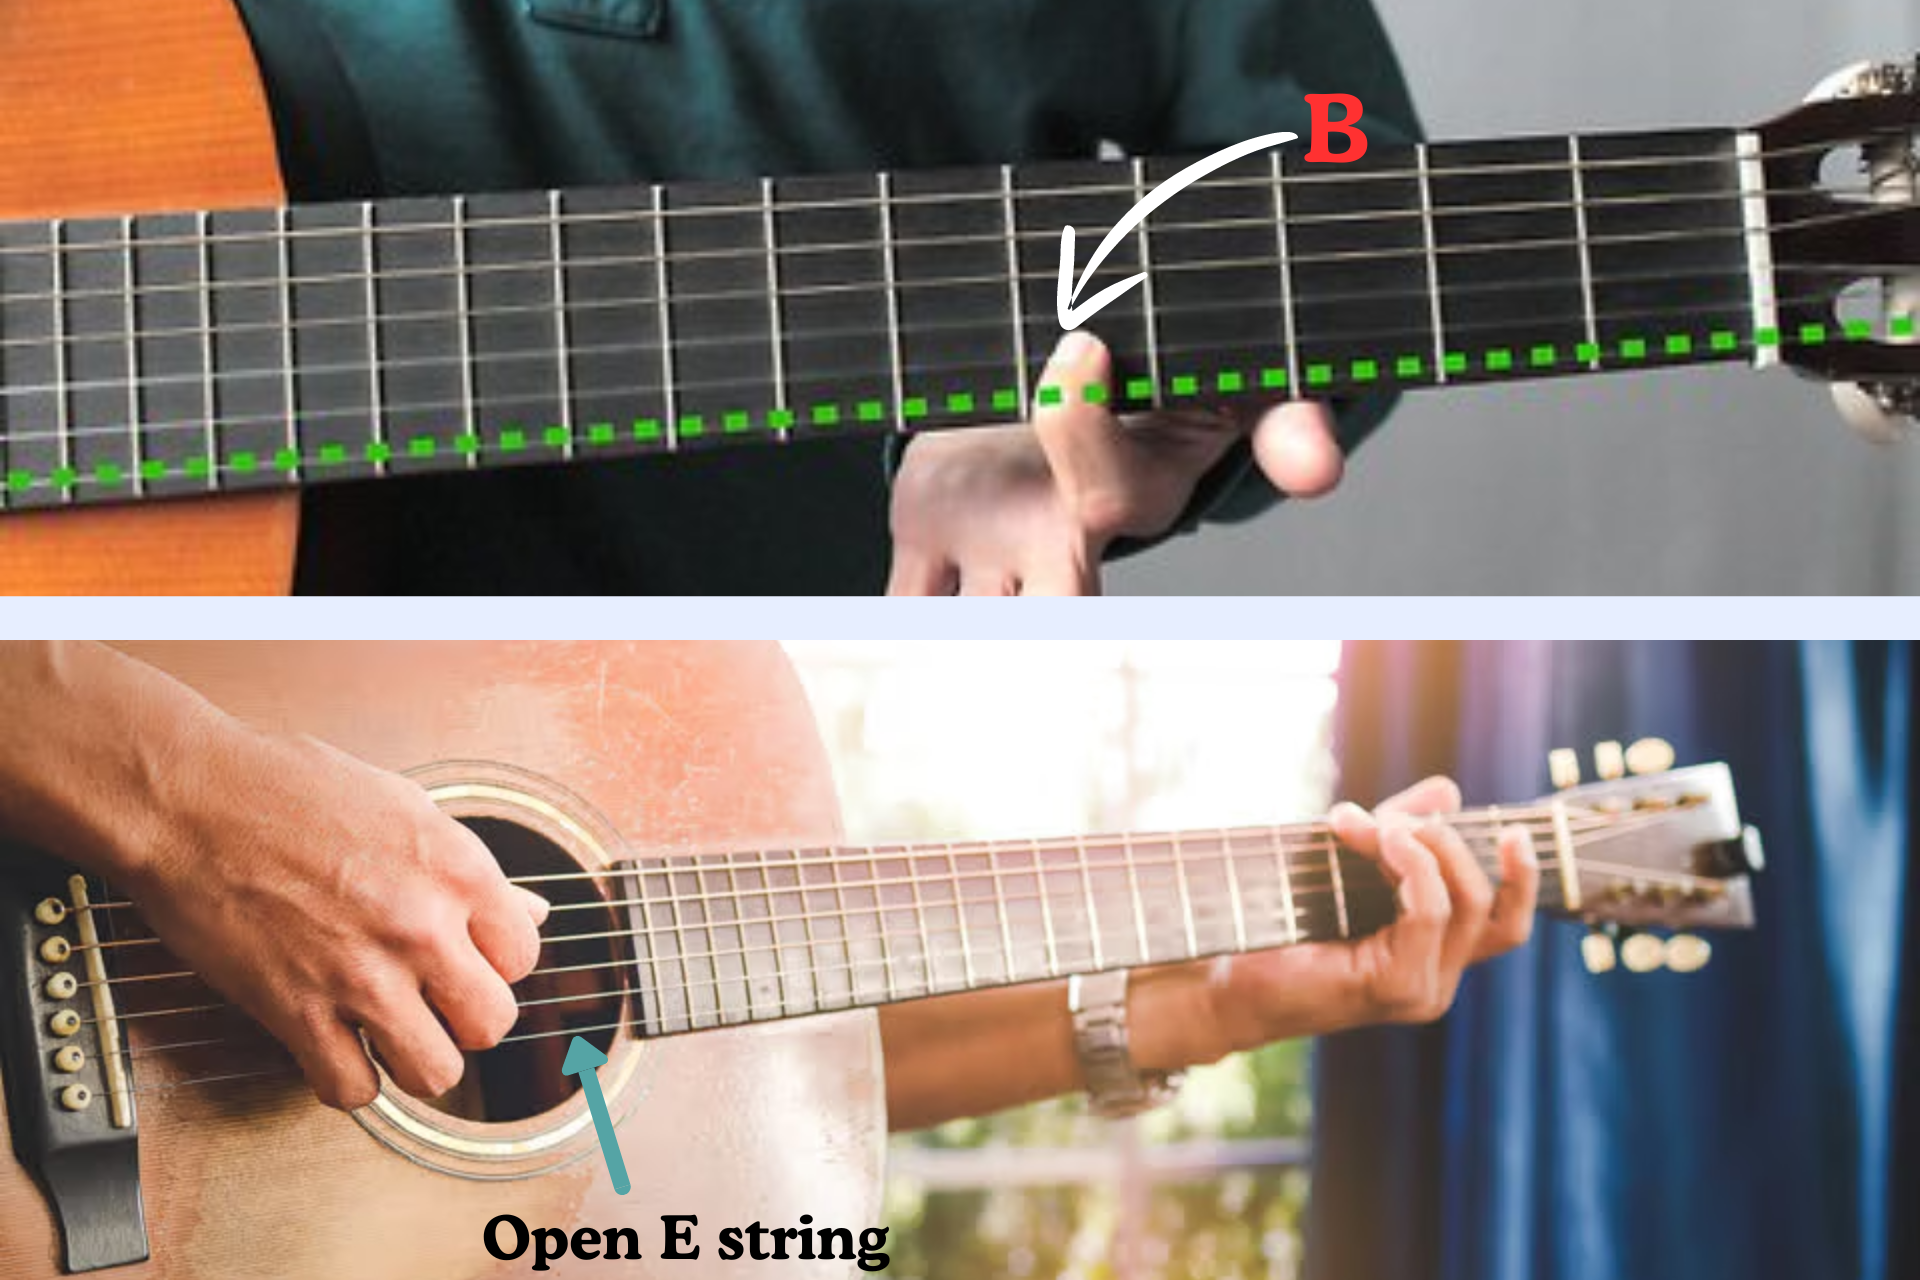
Begin by pressing down the G string at the fourth fret to obtain a reference pitch for tuning the open B string. Pluck both strings one after the other and adjust the B string until its pitch matches the G string at the fourth fret.
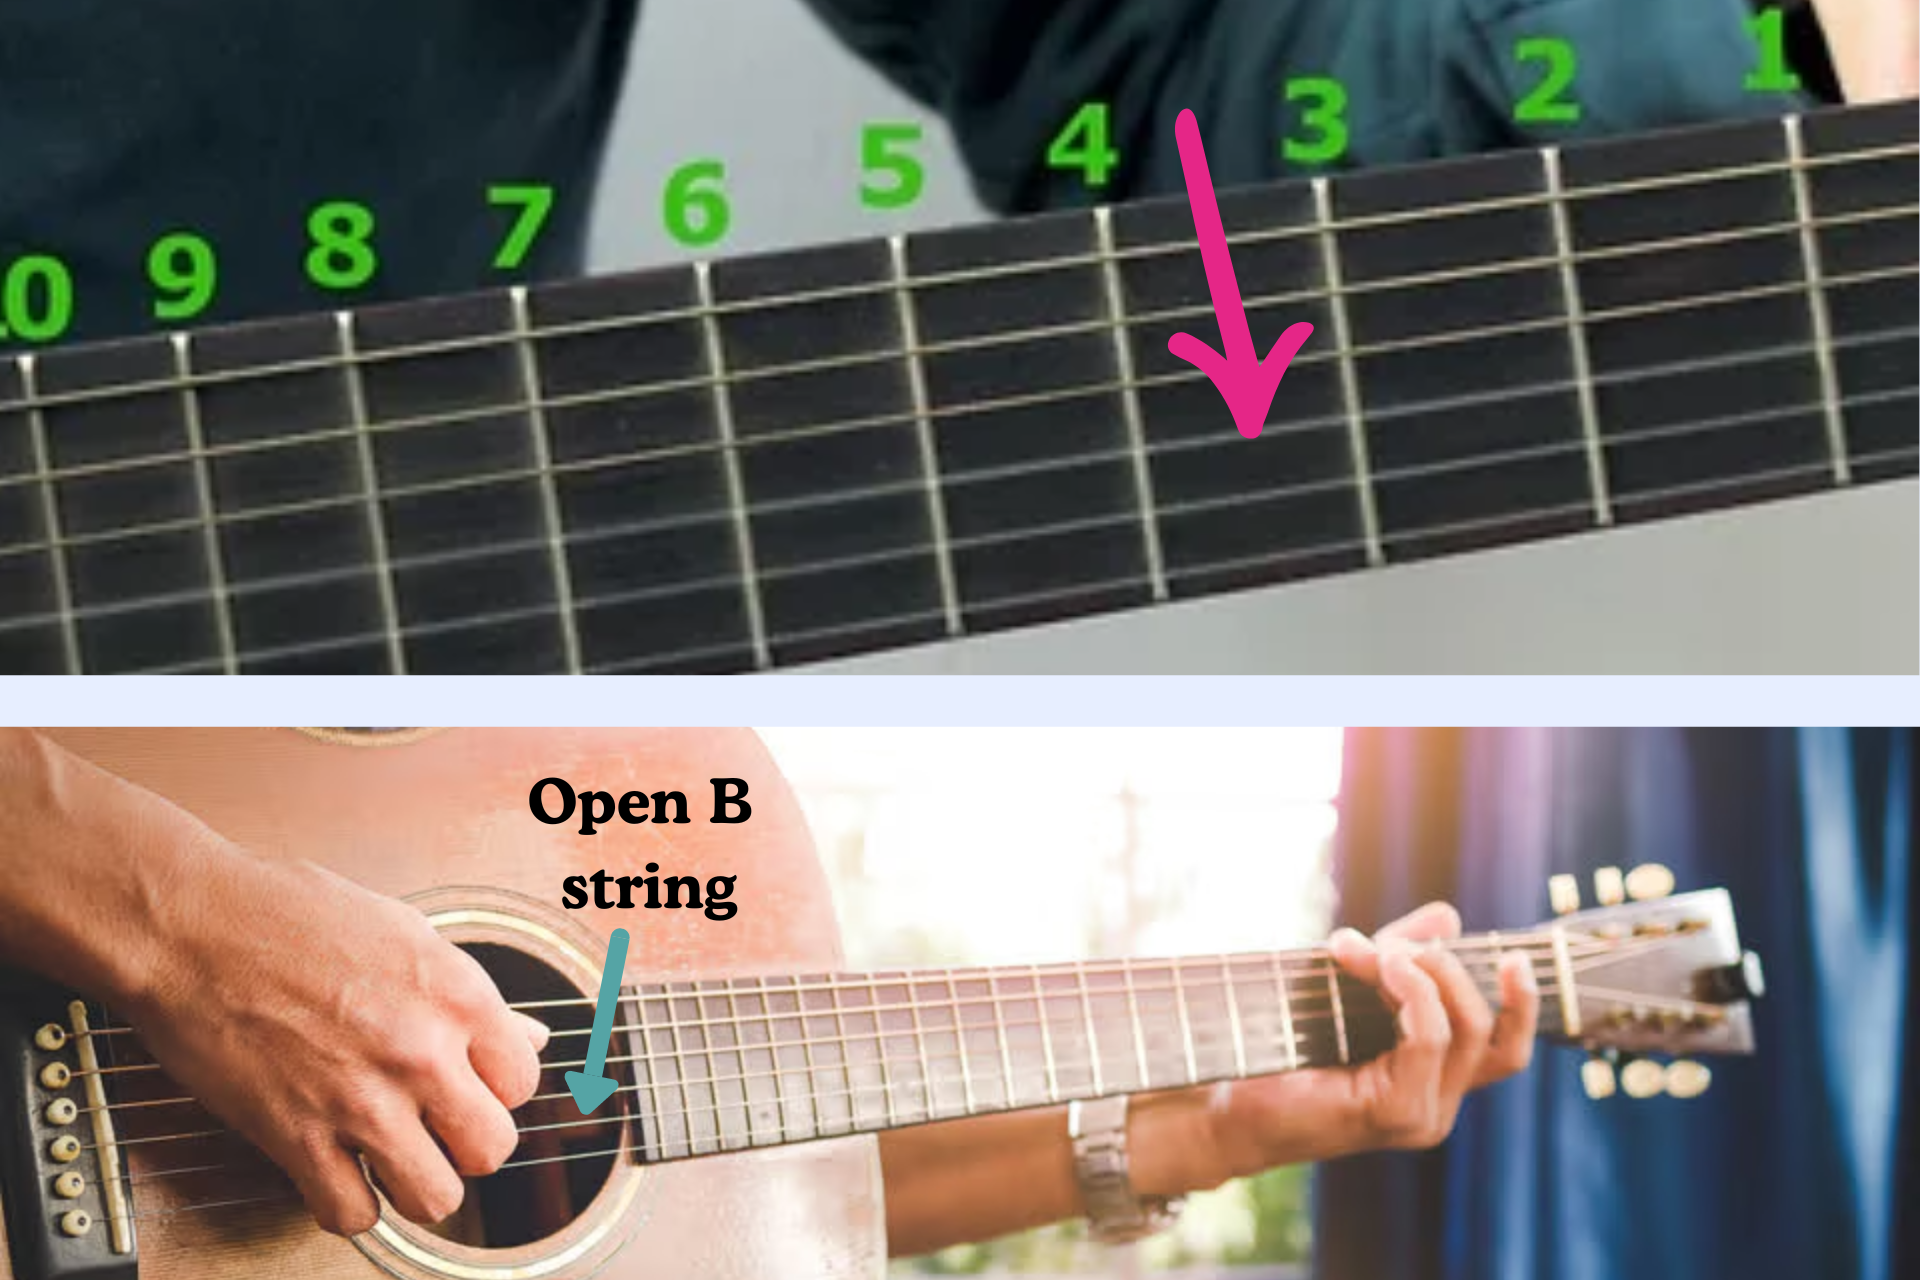
Step 5: Return to the fifth fret on the B string to tune the high E string
Now that your B string is tuned, we’re almost done! The final step involves tuning the high E string, which is the thinnest string. Press the B string down at the fifth fret and pluck it, then compare it to the open high E string.
The goal is to match the pitch of the high E string to that of the B string fretted at the fifth fret. Adjust the tuning peg accordingly until both strings harmonize perfectly.
Step 6: Play a few chords to ensure your guitar is in tune
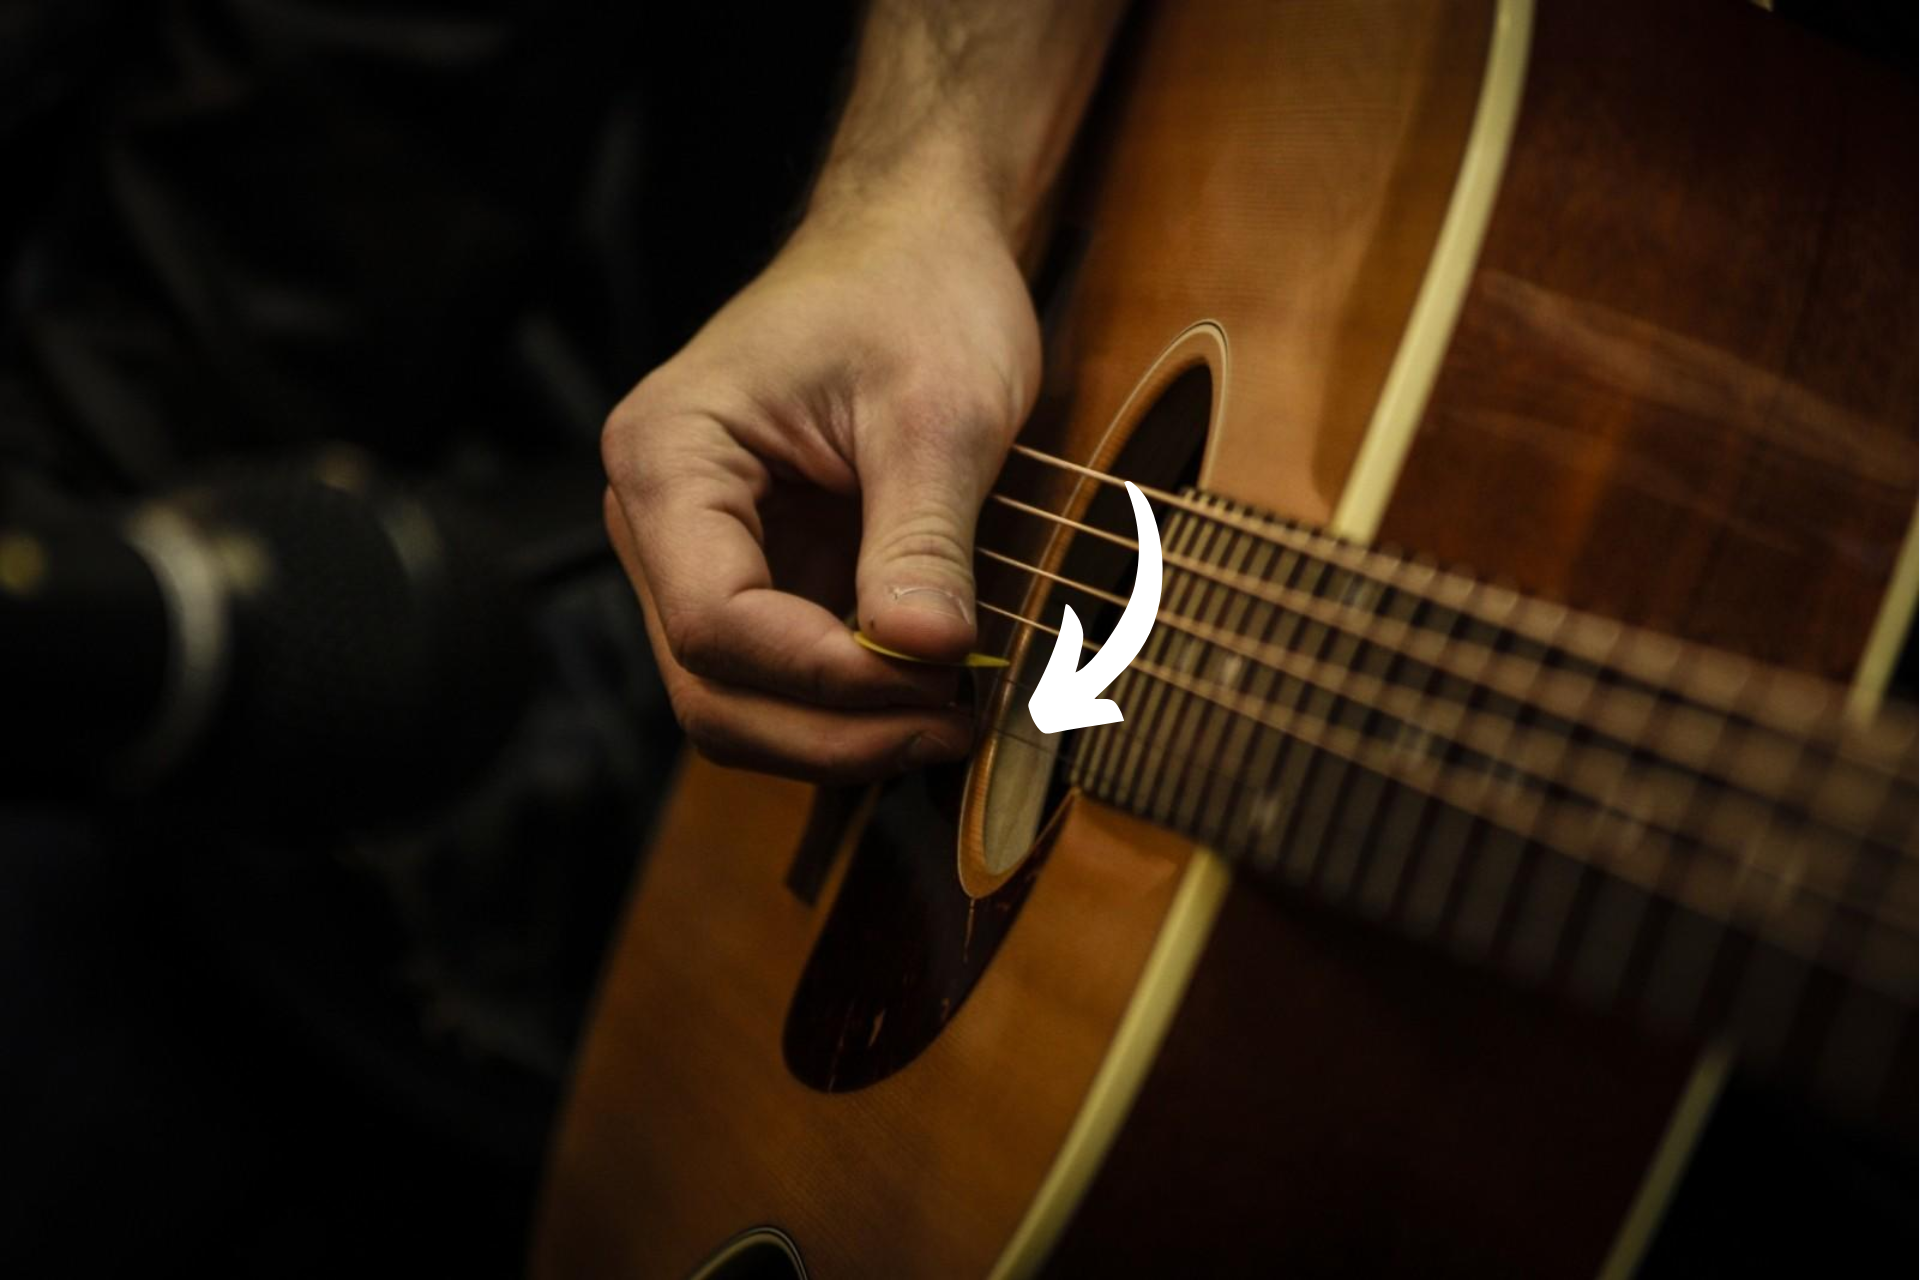
After you’ve tuned all the strings, take a moment to play a few chords. Strum simple chords like G, C, and D to hear how they sound.
This practice will help confirm that your guitar is in tune and will allow you to make any minor adjustments if necessary. It’s common for some strings to drift slightly after tuning, so don’t hesitate to retune throughout your practice session as needed.
With these steps, you’ll confidently tune your guitar without the need for a tuner. As you become more familiar with the process, you’ll develop a better ear for pitch, enhancing your overall musical skills.
Conclusion
In conclusion, knowing how to tune a guitar is an essential skill for any musician. Whether you use a tuner or tune by ear, it’s important to regularly check and adjust your guitar’s tuning to ensure optimal sound quality.
With practice, you’ll become more proficient in this process and be able to keep your guitar sounding its best at all times. So keep practicing and strumming those strings!

